Product added to cart
Most cyclists lubricate their chain too rarely, too often, or incorrectly. Chains covered in black paste, dry as a desert, or dripping lubricant onto the frame are a common sight. Yet just 15 minutes every few rides keeps the drivetrain running like clockwork throughout the entire season. This article presents precise procedures for cleaning and lubricating your chain — without complicated methods or expensive equipment. Proven techniques that ensure long drivetrain life in all conditions.
Before starting any cleaning or lubrication, assess the actual condition of the chain. Intervening "just in case" after every hour of riding wastes both time and lubricant.
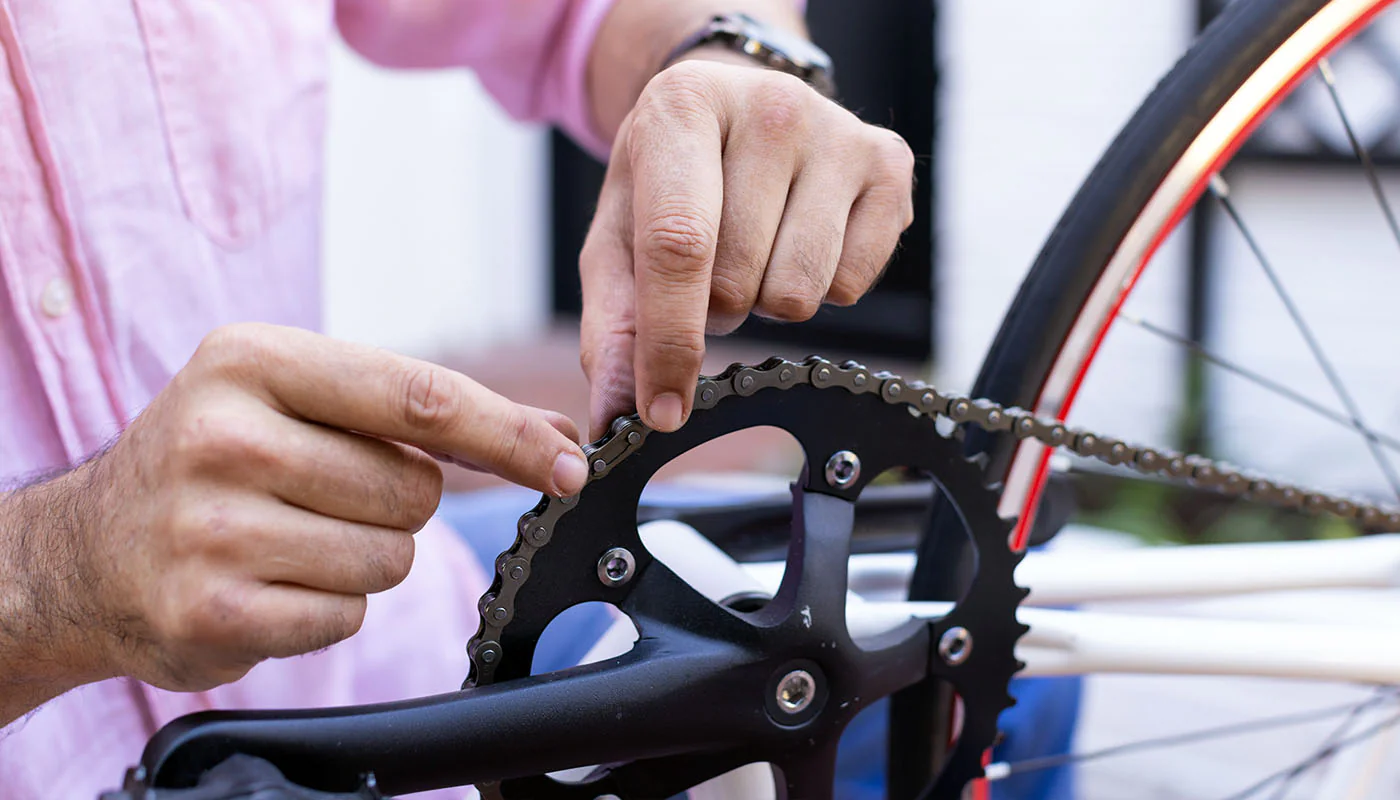
Place the bicycle on a stand or turn it upside down resting on the saddle. Rotate the pedals backwards and observe the chain — grinding, clicking or a quiet "shh-shh" is the first sign of trouble. Visual inspection reveals either a black, sticky mass between the rollers or conversely a dry, dull-looking chain. Both conditions require attention.
The touch test involves running a finger along several links. If your finger becomes covered in black grime mixed with lubricant, cleaning is necessary. If your finger remains clean but the chain feels dry, lubrication alone will suffice.
Checking lateral play provides another indicator. Grasp the chain midway between the rear sprocket and front chainring and attempt to pull it sideways. If it deflects more than 5–10 mm, the chain is likely already heavily worn and no amount of lubrication will restore full functionality.
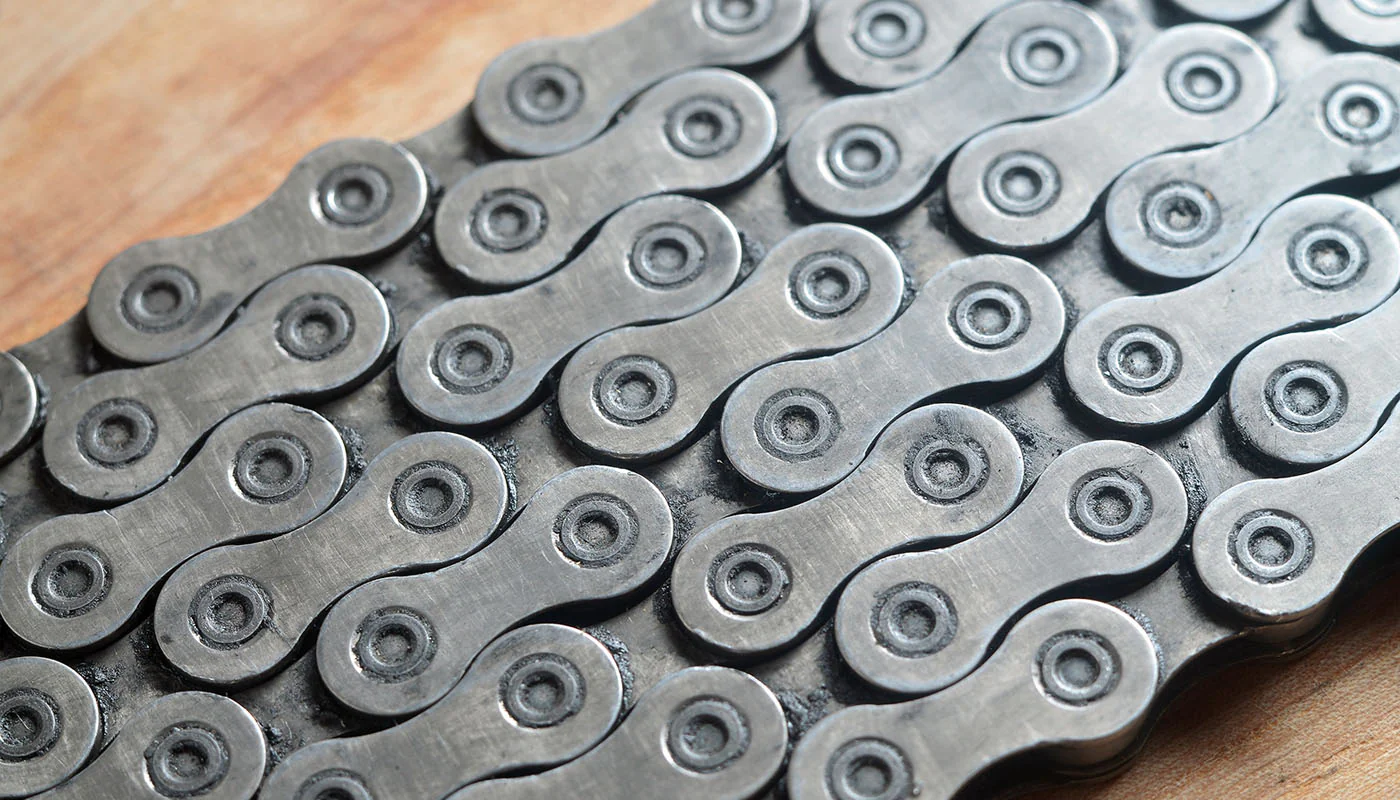
A chain is a precision mechanism of dozens of links, rollers, pins and plates. When dirt, sand, dust and old, dried lubricant get between them, an abrasive paste forms that acts like sandpaper. With every pedal rotation the damage deepens — the chain loses flexibility, stretches, and internal surfaces erode.
The effects are poor gear changing, rattling and skipping, faster cassette and derailleur wear, and a considerably shorter lifespan for the whole drivetrain. A neglected chain can wear up to 50% faster than one that is regularly cleaned, and it drags the components working with it down at the same rate.
Regular cleaning removes contaminants before they cause damage. A clean chain runs quieter, smoother and with less resistance, which is particularly noticeable on longer outings — and better running quality also means more precise gear changes, on recreational rides and technical descents alike.
Understanding the mechanism helps appreciate the value of regular maintenance. Sand and dust getting between the links mix with lubricant and create an abrasive mixture. This paste reaches every contact point — between rollers and pins, onto cassette sprockets and derailleur jockey wheels — and each rotation leaves micro-scratches that deepen over time.
The consequences are serious. A stretched chain no longer works evenly with the sprockets and begins to wear them unevenly. Cassette teeth become "shark-finned" and sharp, derailleurs lose precision, the chain starts skipping under load and in extreme cases can break — usually during a hard climb or a sudden sprint.
Water makes it worse. A dirty chain that also absorbs water is an ideal environment for corrosion, and rust weakens the steel structure further. That is why cleaning after every ride in rain or through mud matters particularly.
The effects of proper care are measurable and noticeable almost immediately:
Lighter, smoother riding — a clean, well-lubricated chain generates far less resistance. Many riders are surprised after their first thorough drivetrain clean how much easier riding becomes.
Precise gear changing — a clean drivetrain responds immediately, without delays, skipping or rattling. This matters most on steep climbs, technical descents and rapid manoeuvres.
Extended component lifespan — a regularly cleaned chain lasts up to twice as long, and it protects the cassette and derailleurs, which with proper care survive several chain replacements.
Quieter operation — a clean chain doesn't rattle or grind, which also makes it easier to notice other sounds signalling technical problems.
Lower failure risk — a well-maintained chain means confidence that the drivetrain won't fail during an important outing or a race.
Not all cleaning methods are equally effective. Three types of product cover the realistic options.
Aerosols are the quick option: spray the chain, wait a moment, then wipe or rinse. They dissolve even baked-on dirt and old lubricant, and they work at any angle, which makes hard-to-reach places easier. For deep drivetrain cleaning OC1 Chain Cleaner 500 ml degreases the chain instantly and removes all deposits.
Liquids suit anyone who prefers controlled application. They are often used in mechanical chain cleaning devices with built-in rotating brushes, which clean very thoroughly without removing the chain — and the liquid can be reused, which makes the method economical.
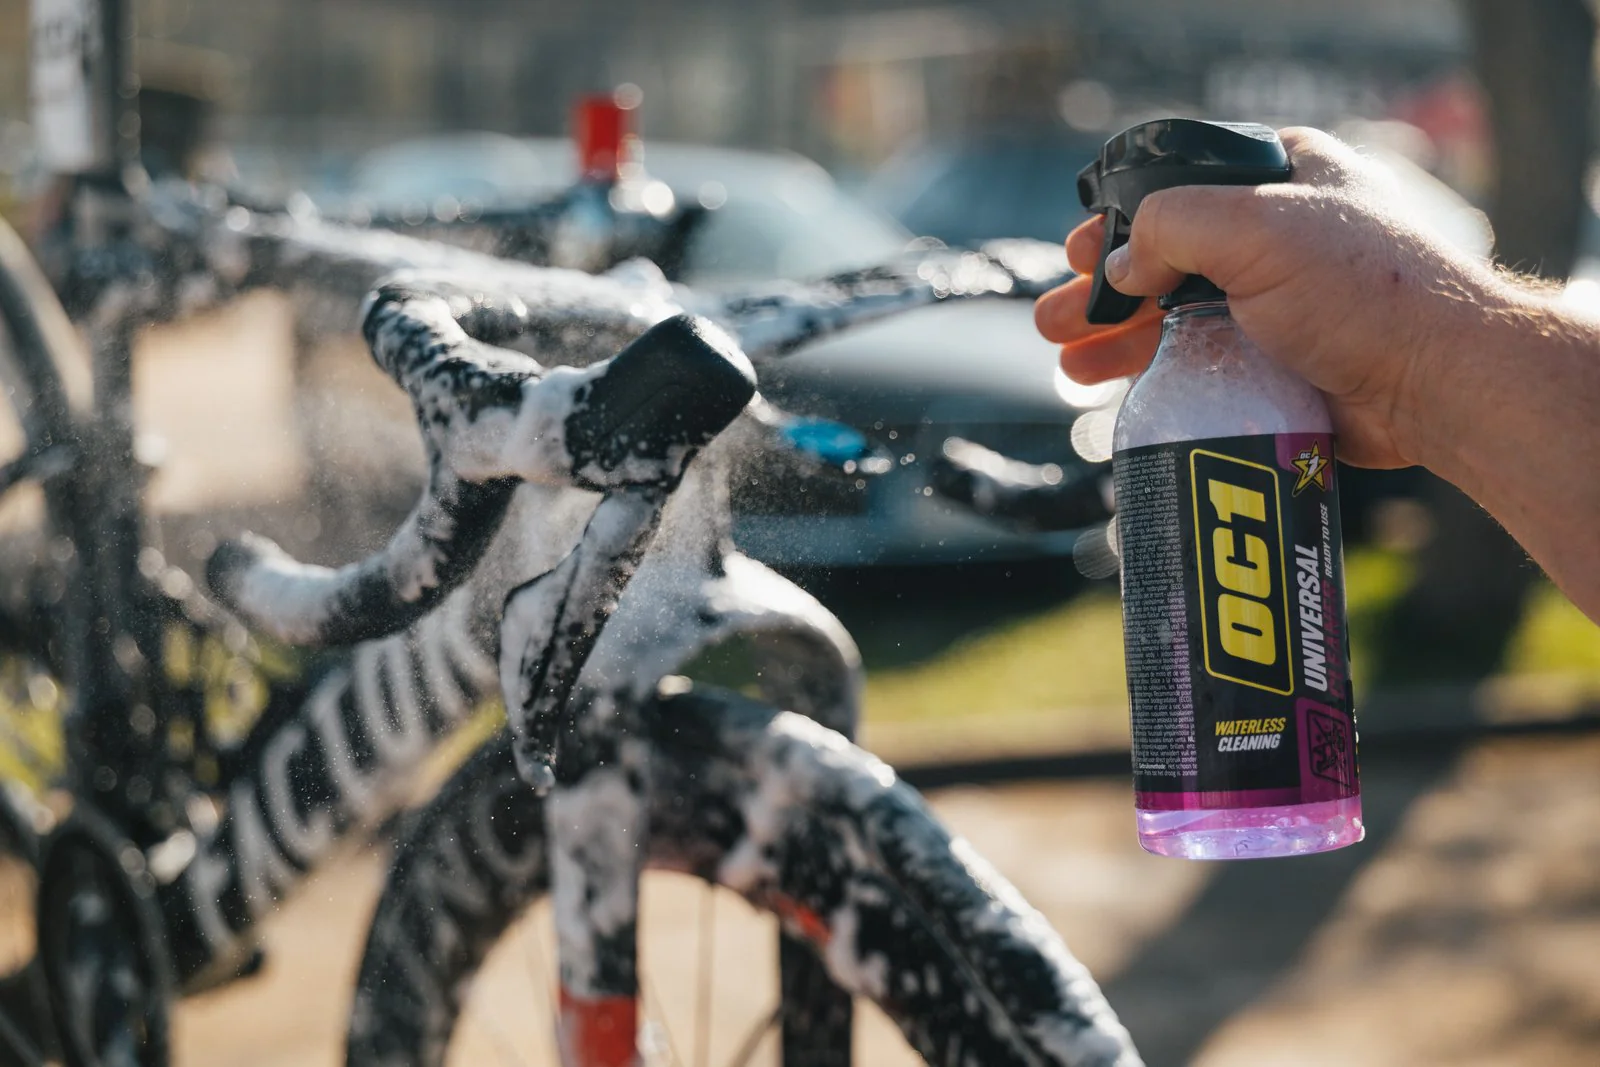
For whole-bike care, a universal cleaner handles the frame and components as well as the chain. OC1 Bicycle Cleaner 950 ml is safe for paintwork, carbon, aluminium, plastic and rubber, removes dirt, oil and insect traces without scratching, and its trigger switches between foam and stream for both application and rinsing.
Effective cleaning needs a dozen or so minutes and the right method, not complicated tools.
Preparation — position the bike so the rear wheel rotates freely, ideally on a stand. Place old newspaper or rags underneath to catch dirty drips.
Initial cleaning — if the chain is very dirty, remove the thickest layers first with an old brush or dry cloth, rotating the cranks backwards.
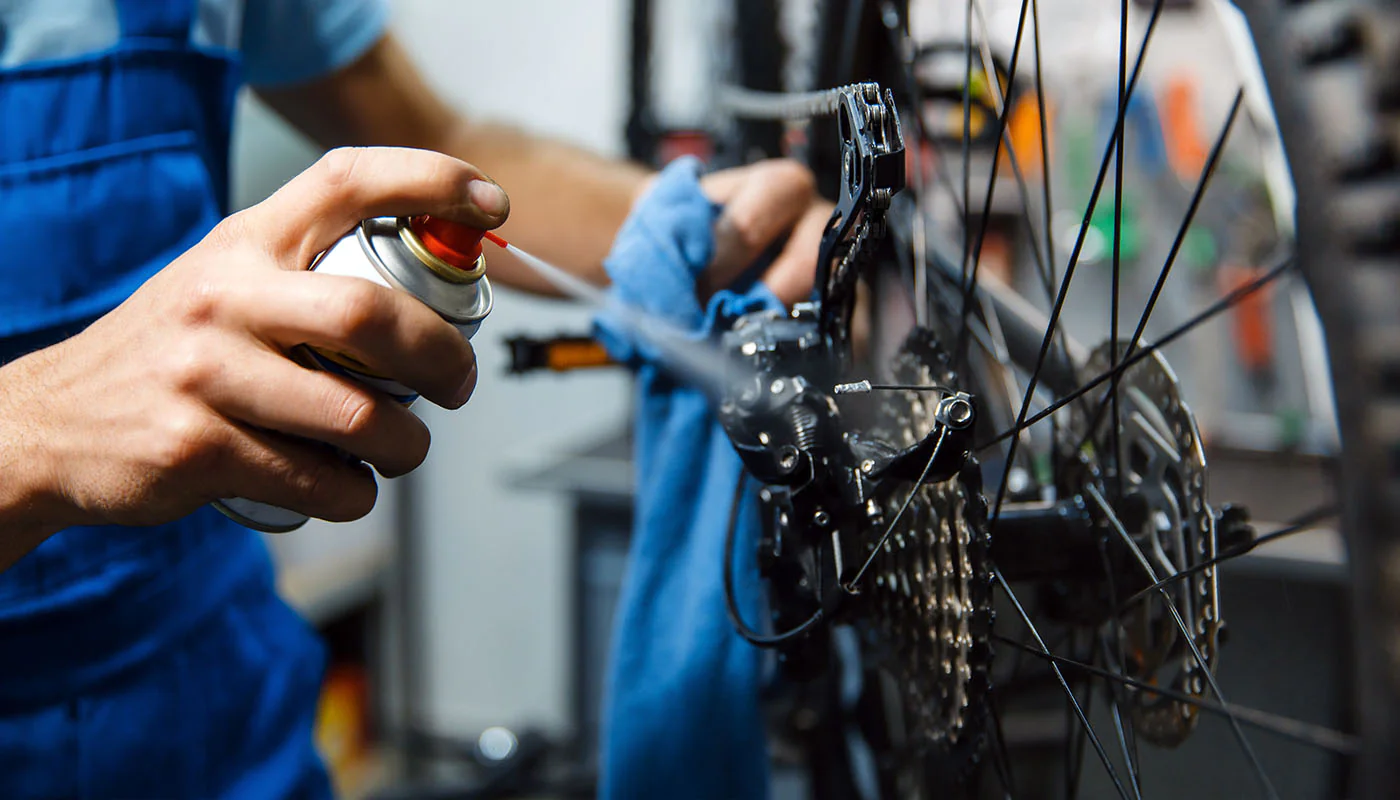
Cleaning product application — spray the chain while rotating the cranks so the whole length is covered on all sides: top, bottom and edges. Wait 2–3 minutes for the product to dissolve the contamination.
Mechanical cleaning — work through with a brush or a chain cleaning device, reaching between the links, inside the rollers and onto the side plates. Thoroughness here decides the result.
Rinsing — rinse with clean water to flush out the product and the loosened dirt, then wipe the chain with a dry cloth. A hose, watering can or bottle all work.
Drying and lubrication — this is the key step. The chain must be completely dry before lubricant goes on. Dry it with a towel or let it dry naturally, then apply the lubricant matched to your conditions.
The most common mistake is pouring on excessive lubricant in the belief that it will "last longer". The result is lubricant dripping onto the frame, attracting dust and creating black sludge. Lubricant belongs inside the chain, not on the outside.
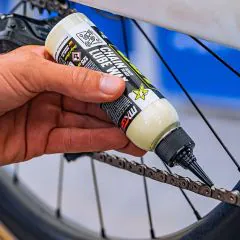
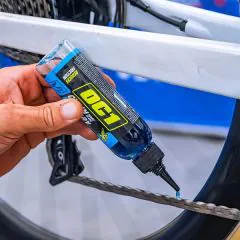
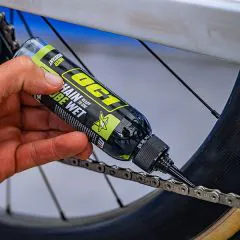
Hold the bottle with the nozzle directly above the rollers and slowly rotate the pedals backwards, applying one drop to each roller. One drop, one roller. No more. For an 11–12 speed chain that is roughly 116 drops and takes two minutes.
After application, rotate the pedals for 30 seconds forwards and backwards and shift through the gears several times on each derailleur, so the lubricant distributes into every crevice.
Then the step most often skipped — removing the excess. Lightly grip the chain from below with a clean cloth and rotate the pedals backwards. The cloth collects whatever remained on the outside; only what penetrated inside should stay. Wiping too vigorously draws lubricant back out.
Before riding, wait 10–15 minutes. Some lubricants need time to soak in and reach full effectiveness — use it to inflate the tyres or check the brakes.
Cleaning alone is half the job. A clean but unlubricated chain wears quickly and grinds unpleasantly. The right choice depends on the conditions you ride in.
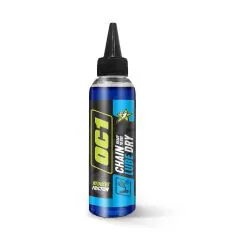
Dry lubricants are made for dry, dusty conditions. The formula penetrates the links and leaves a thin, dry protective layer that doesn't attract dust or sand — ideal for road riding, dry gravel and sandy trails. OC1 Chain Lube Dry 140 ml is a synthetic lubricant that reduces friction, protects against corrosion and minimises build-up on the chain.
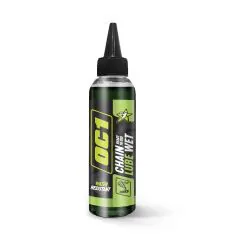
Wet lubricants are built for wet, demanding conditions. Their thicker, more adherent formula protects against water, mud and intensive washing. OC1 Chain Lube Wet 140 ml keeps its consistency in the rain and resists washout — the natural choice for autumn and winter, forest riding and muddy trails.
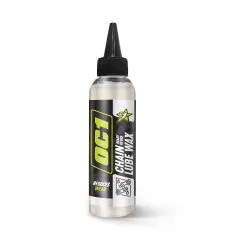
Wax lubricants are the most advanced option. The wax-based formula penetrates deep into the links, then solidifies into a smooth, dry coating. Wax can reduce chain wear by over 80% compared with an unlubricated chain. OC1 Chain Lube Wax 140 ml eliminates friction noise, adheres well and dries quickly — for road, gravel and XC riders prioritising efficiency and minimum wear.
In dry conditions, every 150–200 km or every 2–3 weeks of regular riding is enough. In wet and muddy conditions, considerably more often — even after every ride. It is always better to lubricate early than late; a quiet, smooth drivetrain is the signal that everything is in order.
Not every session requires full cleaning, and telling the two situations apart saves time without compromising maintenance quality.
Full cleaning is necessary when the chain is visibly dirty — covered with mud, dust or old, dried lubricant. Black, sticky residue is a clear signal. Every ride in rain, through mud or on sandy roads also earns a thorough clean.
Lubrication alone is enough when the chain is clean but dry or starting to grind. General rule: always clean after riding in challenging conditions, and lubricate regularly according to lubricant type and riding intensity.
Lubricating a dirty chain — new lubricant mixes with old grime and creates an abrasive paste. Cleaning before lubrication is mandatory.
Too much lubricant — the excess drips, makes a mess and goes to waste. One drop per roller is the maximum.
Lubricating before storage — a bike left in the garage for winter shouldn't be preventatively flooded with lubricant, because lubricant attracts dust and moisture. Clean it, dry it, and lubricate lightly before the new season instead.
Using WD-40 as lubricant — WD-40 is a water displacement product and a mild degreaser, not a chain lubricant. It evaporates quickly and leaves bare metal.
Ignoring the cassette and chainrings — dirty sprockets wear and rob power just as the chain does. Cleaning should cover the whole drivetrain.
Avoid cross-chaining — small chainring with small sprocket (or large with large) makes the chain work at an angle and accelerates wear. Choose gears that keep it as straight as possible.
Check chain stretch regularly — a chain wear indicator costs little, and replacing the chain before it damages the cassette is far cheaper than replacing the whole drivetrain.
Don't leave the bike in damp places — no lubricant protects against corrosion if the bike stands for weeks in a damp garage or cellar.
Always lubricate after washing — water flushes lubricant out of the links, and a washed but unlubricated chain corrodes or wears faster on the next ride.
A clean chain is the foundation of an efficient, quiet and economical drivetrain. Regular cleaning and proper lubrication pay back many times over — in servicing savings and in riding pleasure alike. A chain that is properly cared for can last twice as long as a neglected one, and the cassette and derailleurs longer still.
You need neither advanced tools nor hours of time. A dozen or so minutes every few weeks, an appropriate cleaning product and a good-quality lubricant matched to riding conditions are enough. The result? Smoother riding, precise gear changing, quieter drivetrain operation, and confidence that nothing will fail at the crucial moment.