Product added to cart
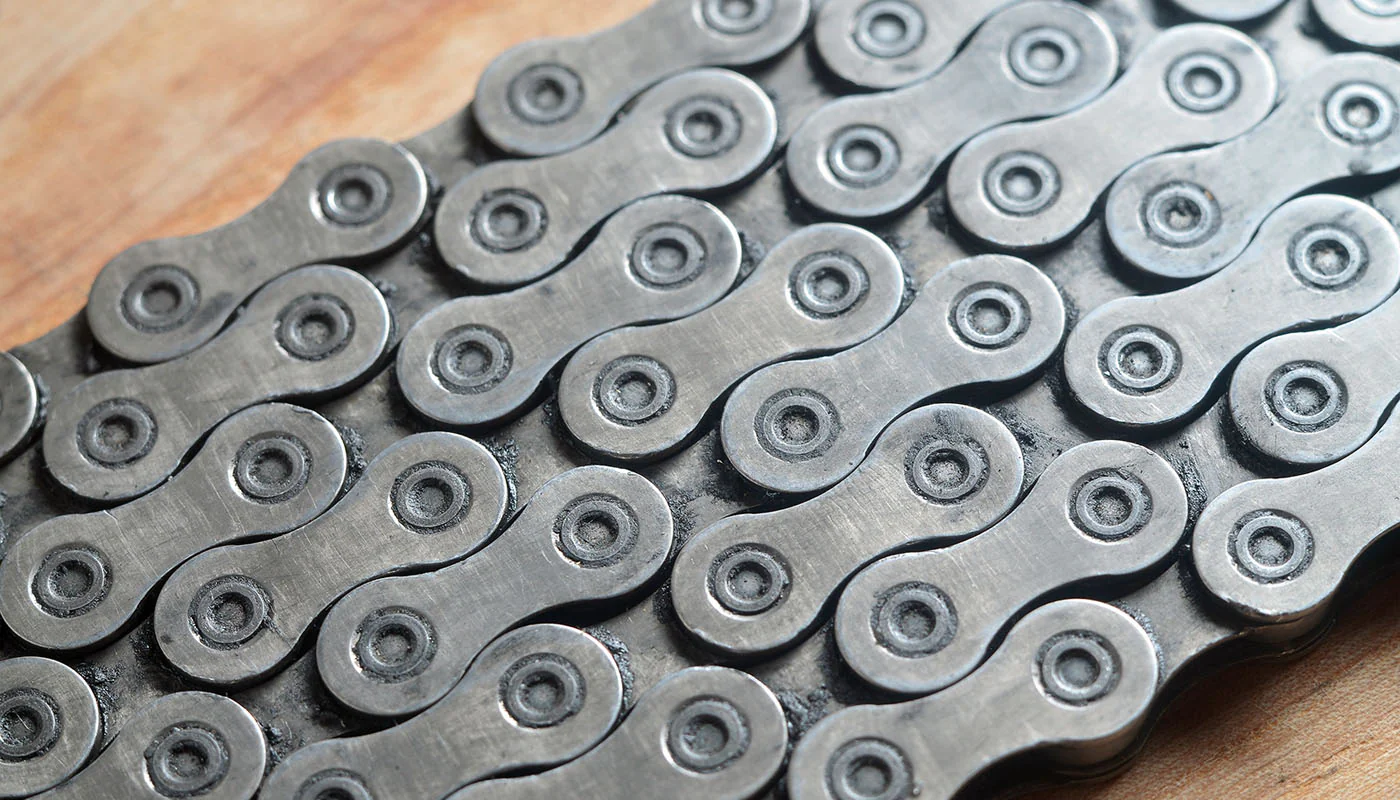
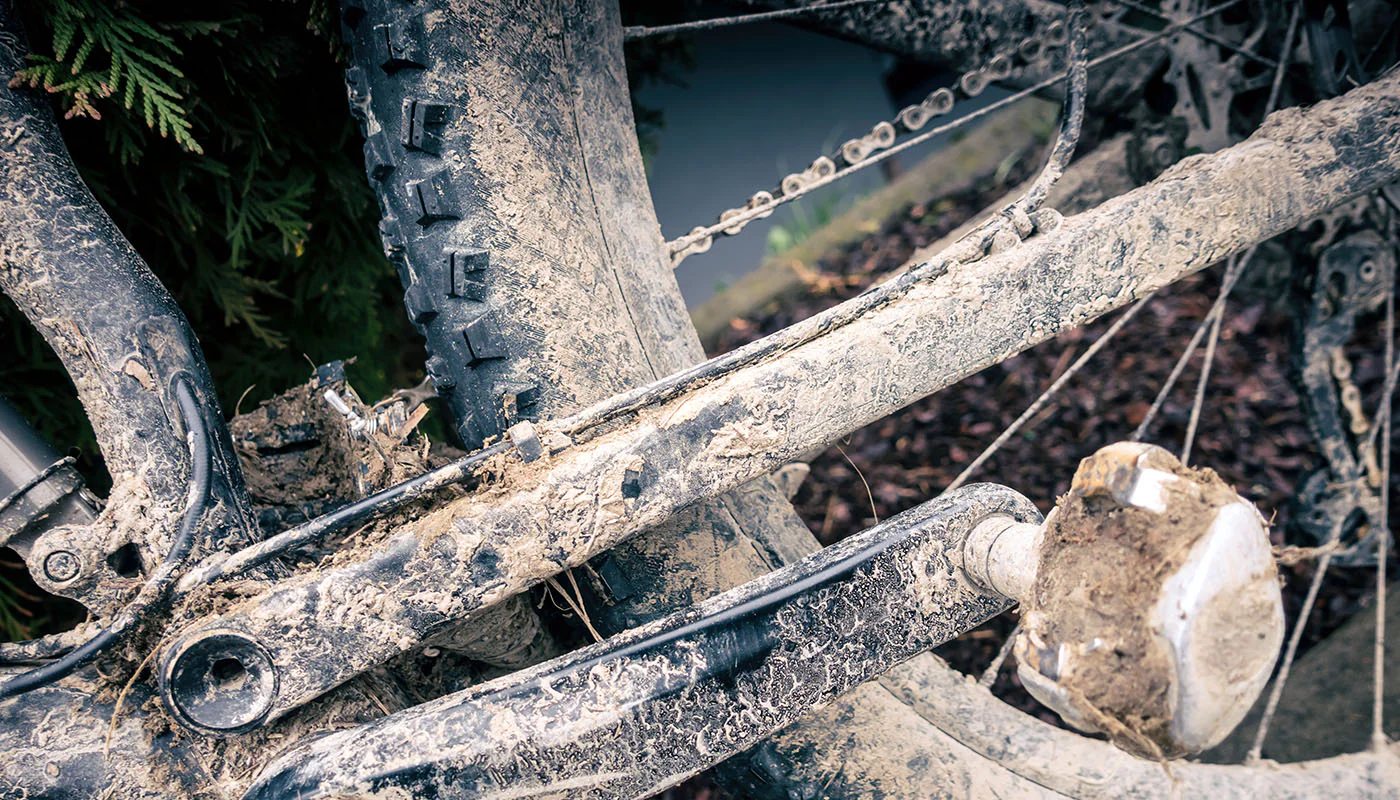
Road, gravel, mountain or trekking - every bicycle comes back from a ride carrying dust, mud, road film, insect residue and greasy deposits from the drivetrain. Some of it disappears with the first rinse, but a good deal of it settles where water alone will never reach: the jockey wheels, the gaps between sprockets, the rollers of the chain.
Cleaning is often treated as a matter of appearance, yet it remains one of the cheapest ways to slow down component wear. This guide sets out the whole process: preparing the workspace, working through each stage of the wash, avoiding the most common mistakes and judging how often the job actually needs doing.
Dirt behaves differently depending on where it settles. Dust and mud on the frame are largely a cosmetic issue, whereas deposits on the drivetrain directly determine how many kilometres the chain, cassette and chainrings will last.
Grains of sand that stick to a lubricated chain form an abrasive paste that works away with every turn of the cranks. Instead of reducing friction, the lubricant starts carrying contaminants into the places that matter most - between the pins and the bushings of each link. The result is accelerated chain elongation, followed by wear on the cassette and chainrings, whose replacement costs many times more than a chain.
A clean frame reveals what a muddy one hides: cracked paint, frayed cables, play in a brake calliper, worn pads, cuts in a tyre sidewall. Regular washing effectively becomes a recurring technical check carried out along the way.
Alongside that come the benefits that are easy to overlook: a lower risk of corrosion on bolts and steel parts, smoother shifting, and a higher resale value when the bike eventually changes hands.
Everything needed should be gathered before the first drop of water is used. Interrupting the process halfway through - while the cleaner is still working on the surface - usually leads to an uneven result.
The basic kit consists of:
The work is best done in the shade, on surfaces that feel cool to the touch. A cleaner applied to a frame warmed by the sun evaporates before it can dissolve anything, and tends to leave streaks on paintwork.
The whole routine takes around fifteen minutes and follows a single principle: loose dirt goes first, bonded dirt second, and protection and lubrication are restored at the end.
The opening rinse exists to remove sand, dust and clumps of mud before anything touches the frame. Skipping it is the shortest route to swirl marks, since a brush simply drags grit across the paint.
Water should flow freely, without pressure behind it. Pressure washers, tempting as their speed may be, force water into the bottom bracket, headset and hub bearings and flush the grease out of them. The consequences tend to surface a few weeks later, as rumbling and play.
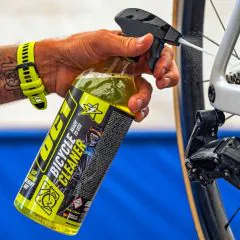
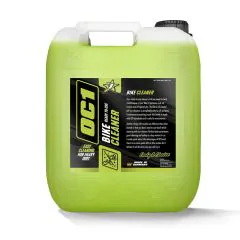
Proper cleaning begins with a product formulated for bicycle materials. OC1 Bicycle Cleaner 950 ml is a high-performance cleaner developed to lift road grime, oil stains and insect residue, and it is safe on carbon and aluminium frames, painted surfaces, plastics and rubber.
The product is spread across the whole bicycle - frame, fork, wheels and metal components - and left to dwell for two to three minutes. During that time it softens and dissolves the deposits, which limits the need for mechanical scrubbing. The surface should not be allowed to dry out at this stage.
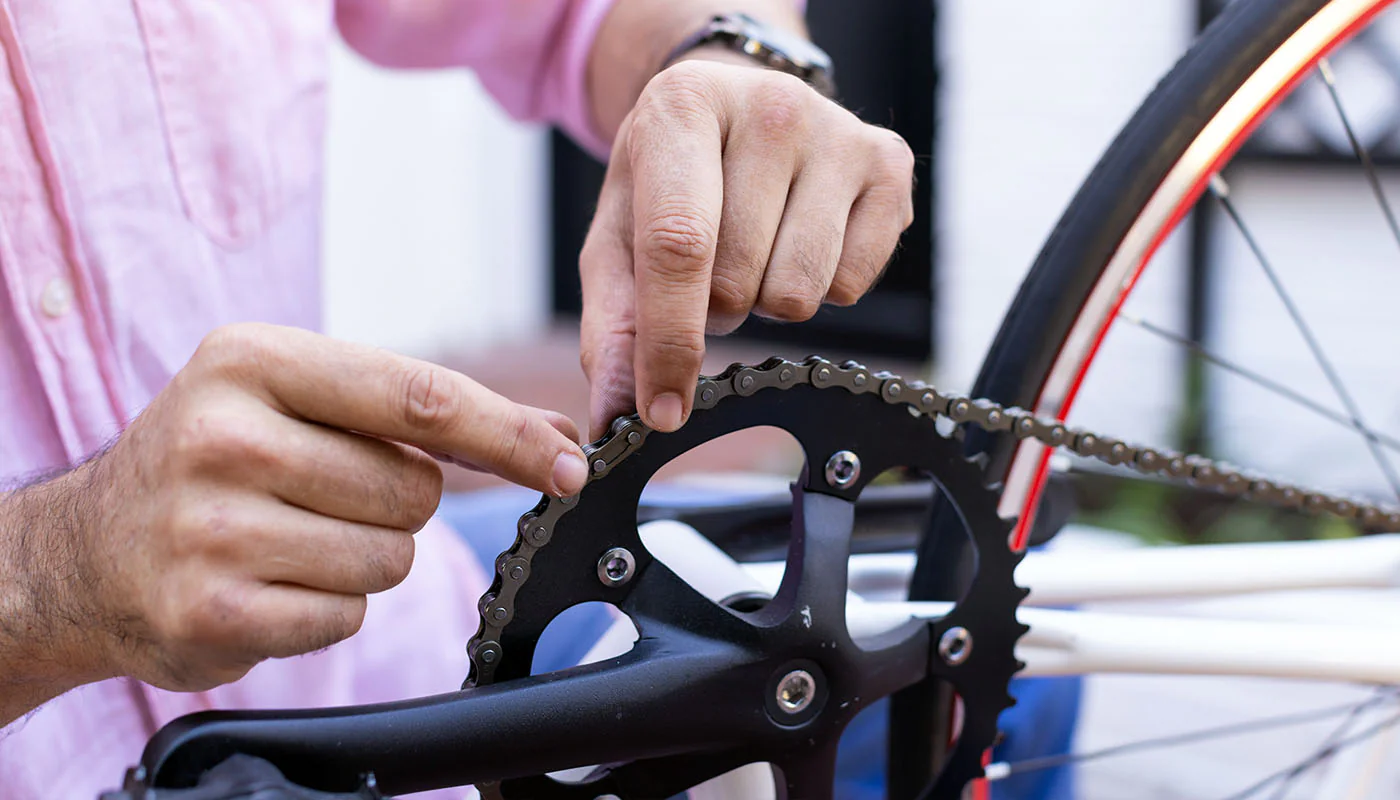
The drivetrain calls for different chemistry from the frame, because the film on a chain is a mixture of lubricant, brake dust and road contamination. OC1 Chain Cleaner 500 ml removes those deposits and frees up the links, and the aerosol reaches the spaces between rollers from any angle.
The chain is cleaned while the cranks are turned slowly backwards; the cassette and jockey wheels are best handled with a narrow brush. The cloth used on the drivetrain should never make its way onto the frame afterwards, since it will transfer a greasy film to the paint. The full drivetrain routine is covered in cleaning and lubricating a bicycle chain.
After rinsing with clean water, no trace of foam should remain. Cleaner residue drying on paintwork leaves dull streaks, which show up especially clearly on darker frames.
Drying with a soft microfibre cloth speeds the process up and makes it easy to spot any area that needs a second pass. Particular attention is worth giving to the places where water likes to sit: the inside of the fork, the area around the bottom bracket, brake bridges and the space near the rear derailleur hanger.
Every thorough wash strips lubricant from the chain, which makes this stage anything but optional. The chain must be completely dry before lubricant goes on, as a product applied to damp links will not bond with the metal.
The choice of lubricant depends on riding conditions. OC1 Chain Lube Dry 140 ml suits dry weather and sealed surfaces, OC1 Chain Lube Wet 140 ml holds its consistency despite contact with large amounts of water, and the wax-based OC1 Chain Lube Wax 140 ml forms a fast-drying film with high adhesion. Lubricant is applied drop by drop to individual rollers; the chain is then run through the gears a few times and the excess wiped away with a clean rag. The differences between the two approaches are compared in wax or chain lube for your bicycle.
Most problems stem not from carelessness but from small habits repeated over years. They are worth knowing about, because the cost only becomes visible when components need replacing.
There is no universal interval, because the nature of the riding matters far more than the distance covered. A gravel bike after a single muddy outing needs more attention than a road bike after a week of dry-weather riding.
Cleaning is advisable above all:
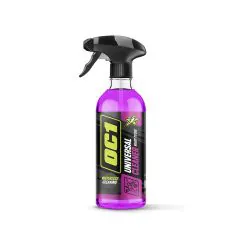
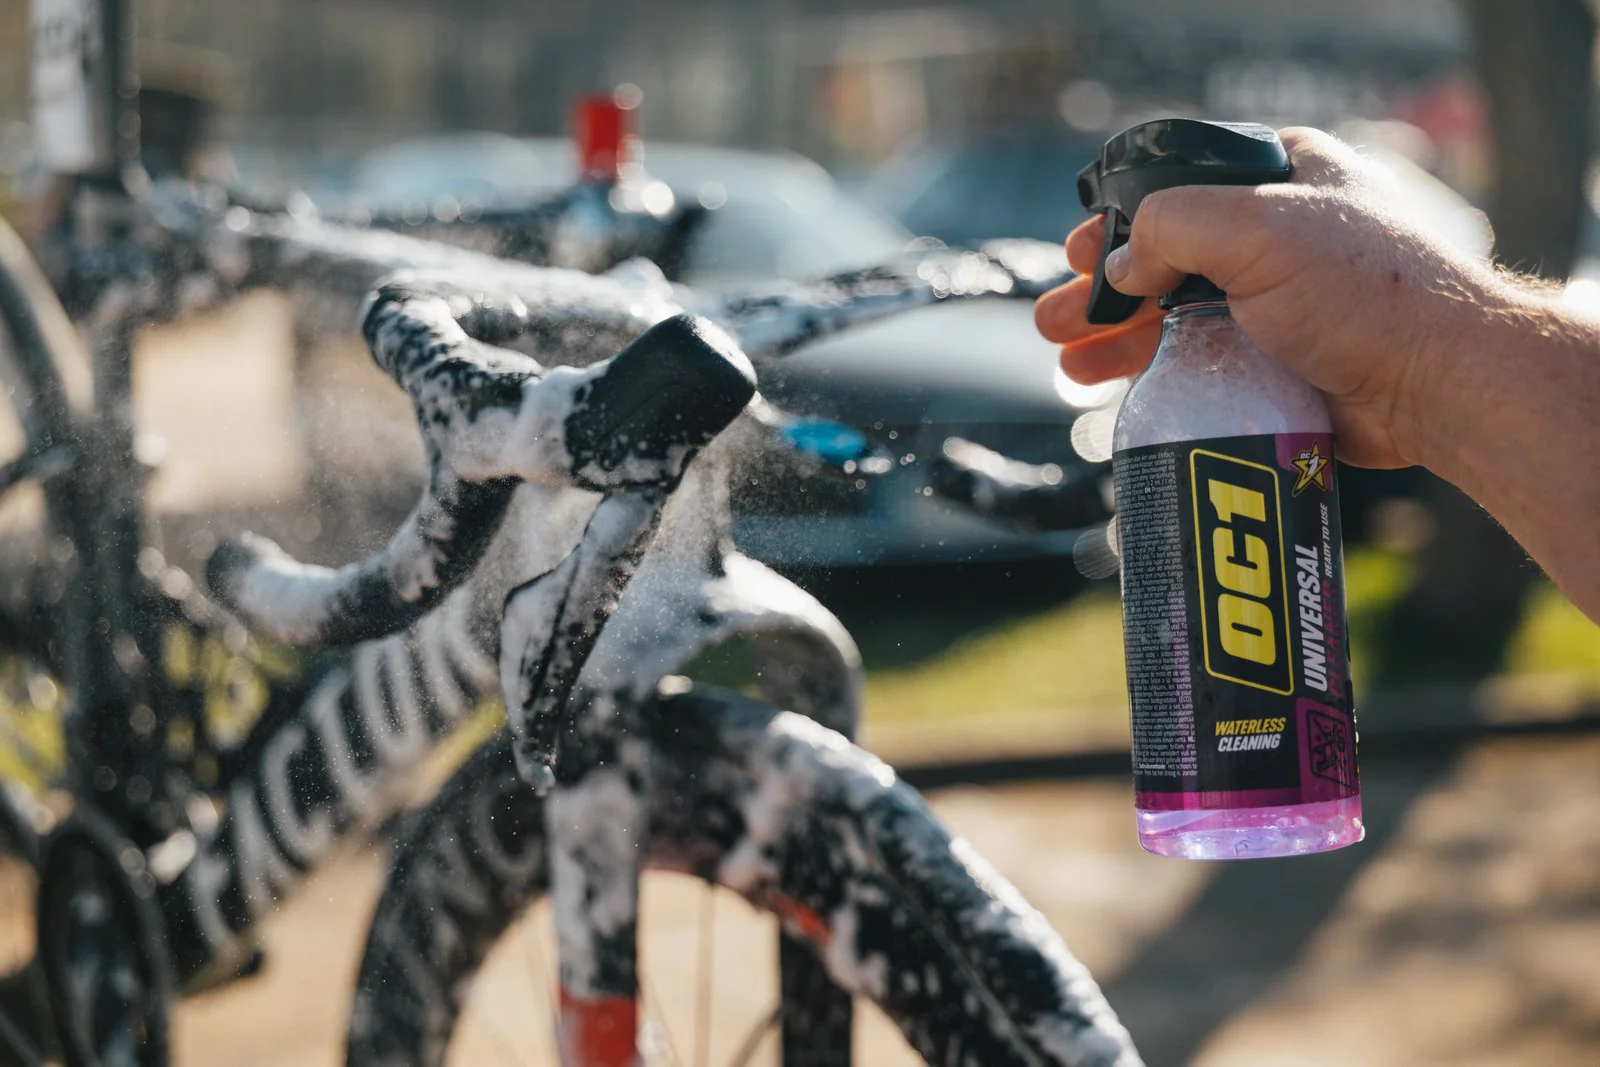
Between full washes, a quick waterless clean does the job well. OC1 Universal Cleaner 450 ml lifts everyday dirt, masks minor scratches and deepens colour, which keeps a bicycle presentable even in a flat or a workshop with no water on hand.
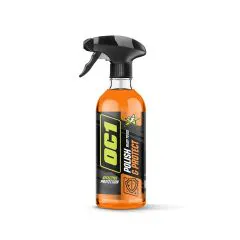
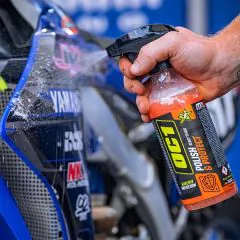
A clean bicycle can be given an additional coating that reduces how readily dirt adheres to it. OC1 Polish & Protect 450 ml leaves a hydrophobic layer and a lasting gloss, so the next wash goes faster and mud finds it harder to bond with the frame.
Electric bicycles deserve separate consideration. Connectors, the charging port and the battery mount should stay closed and dry, and the water stream should never be aimed directly at the motor housing or the display. Beyond that, the routine is identical to the one used on conventional bicycles.
Cleaning a bicycle properly comes down to a handful of repeatable steps: rinsing off loose dirt, applying a dedicated cleaner, treating the drivetrain separately, rinsing thoroughly, drying and lubricating the chain again. The routine takes around fifteen minutes, and doing it regularly translates into smoother shifting, a longer-lasting drivetrain and fewer trips to the workshop.
The choice of chemistry matters roughly as much as the technique itself. Products developed with bicycle materials in mind - paint, carbon, aluminium, rubber and plastics - deliver the result without risking damage to the surface and without heavy scrubbing.